1. Choosing your pumpkin
A smooth and more-rounded shape will make it easier to carve. Sometimes you might get inspiration from an odd shape, then go for it and stand out from the crowd.
2. Wash your pumpkin
And prepare your working area. Things might get messy so prepare with some paper and bowls.
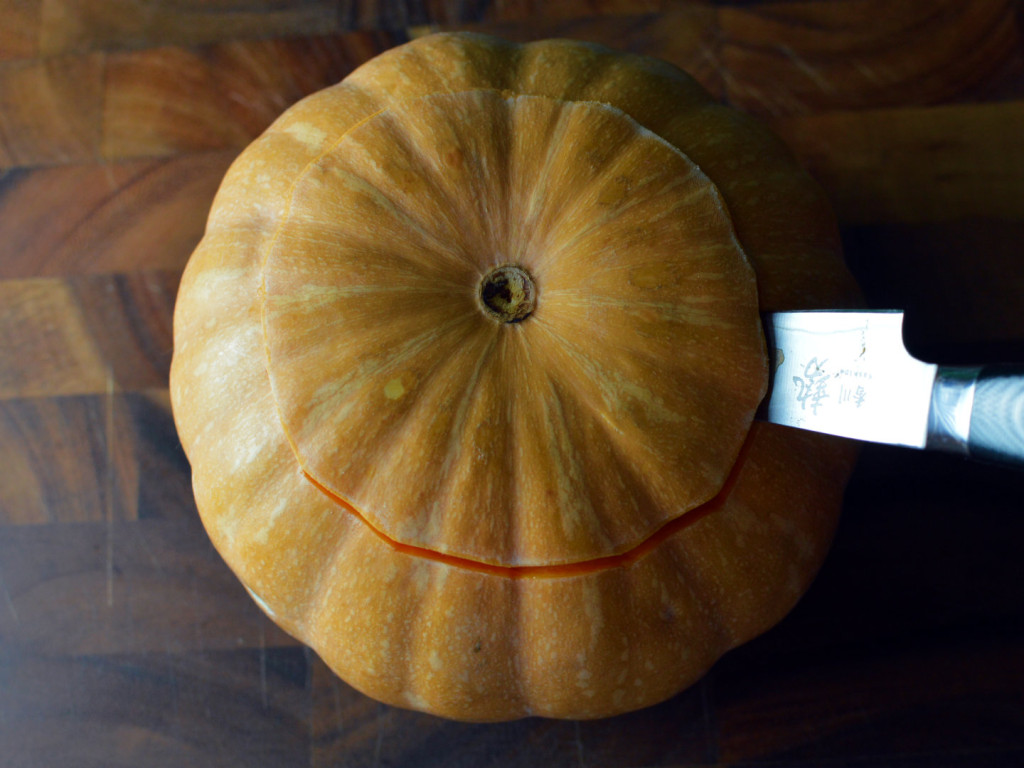
3. Cut the lid
The usual way is to take off the end where the stem was. But there are creative ways you can use the stem end (e.g. as a nose if it is still on) so decide that before you cut the lid. Make sure you slice through the pumpkin at a 45-degree inward angle, so you’ll be able to replace the lid without it falling in.
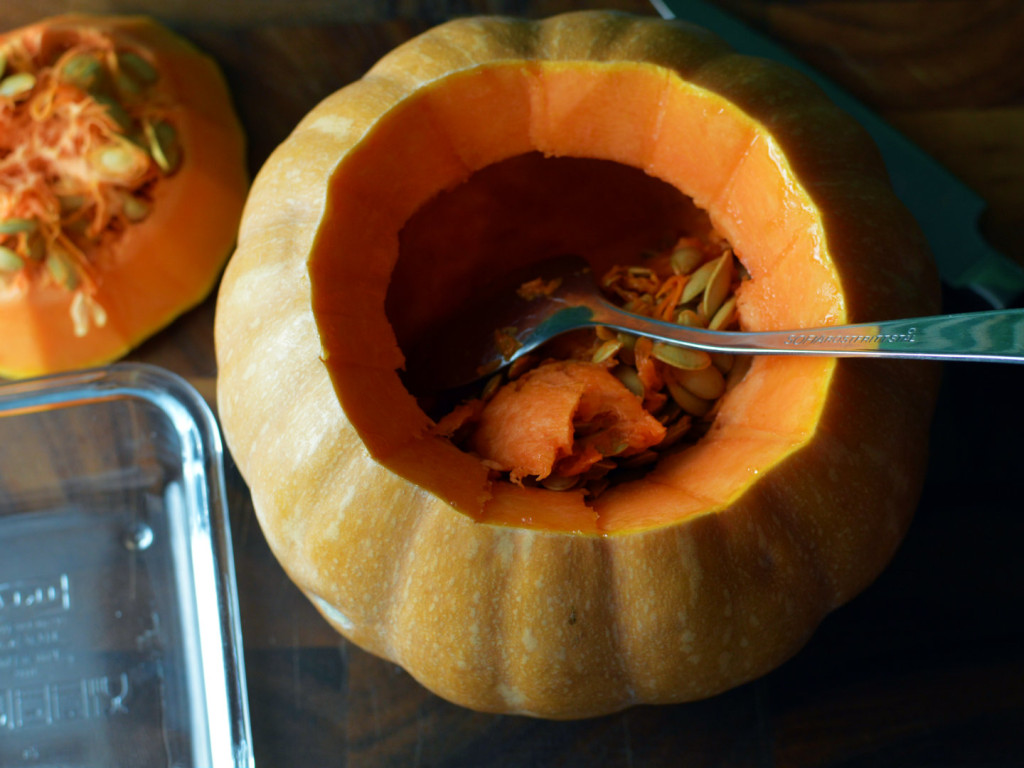
4. Scoop out the inside
Use a large spoon or your hands.
5. Prepare your design
Either use a design online, print it and fasten it on the pumpkin. Or use masking tape and draw on it. Or just draw directly on the pumpkin with a dry erase marker
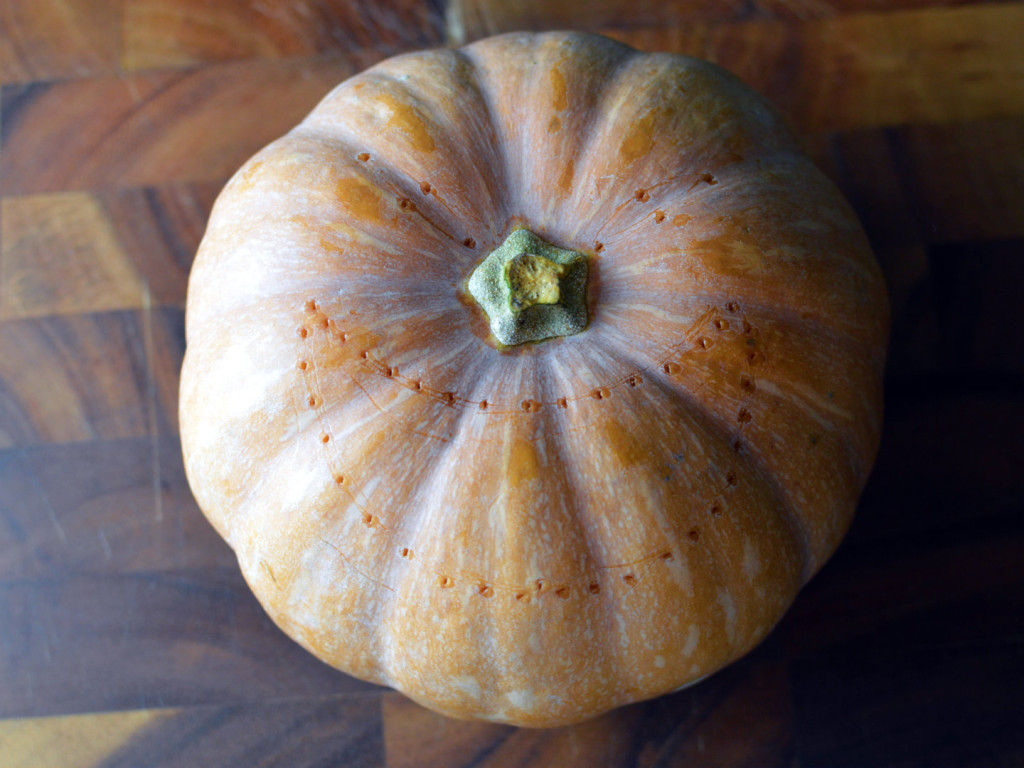
6. Mark where to cut
by pinching small holes or cut shallow along the cutting lines
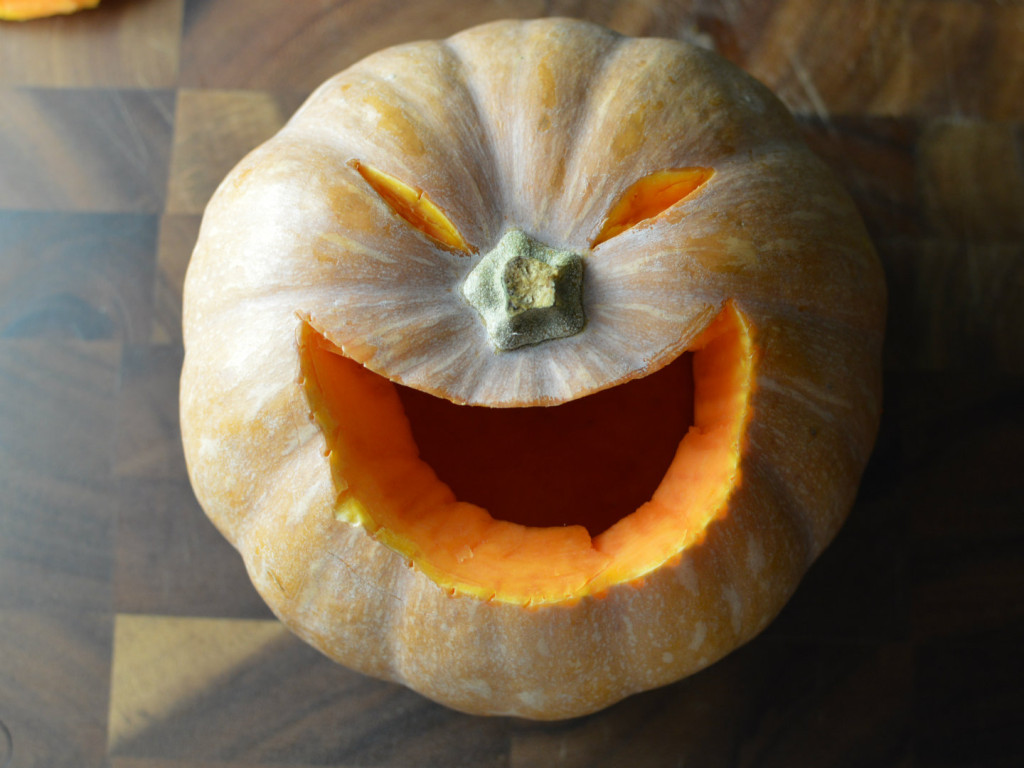
7. Carve out your pumpkin!
Depending on what you want to do you can use a knife, drill, wood gouges or cookie cutters. Sawing in short, back and forth movements is easier to control than slicing.
Tip: Prevent carved areas of the pumpkin from turning brown by applying a layer of Vaseline.
Tip for lighting it up: http://www.wikihow.com/Light-a-Pumpkin-for-Halloween or http://holidays.thefuntimesguide.com/2013/09/pumpkin-lights.php
Pumpkin patterns: http://www.pumpkincarvingpatterns.com/ or http://www.pumpkinpile.com/
Pinterest collection of creative pumpkin carving ideas: http://www.pinterest.com/IngrediMatcher/creative-pumpkin-carving-ideas/
Do you have more creative ways on how to carve a pumpkin? Let us know in the comments!


The pinterest collection is now updated: https://www.pinterest.com/IngrediMatcher/creative-pumpkin-carving-ideas/